Posts

Showing posts from 2021

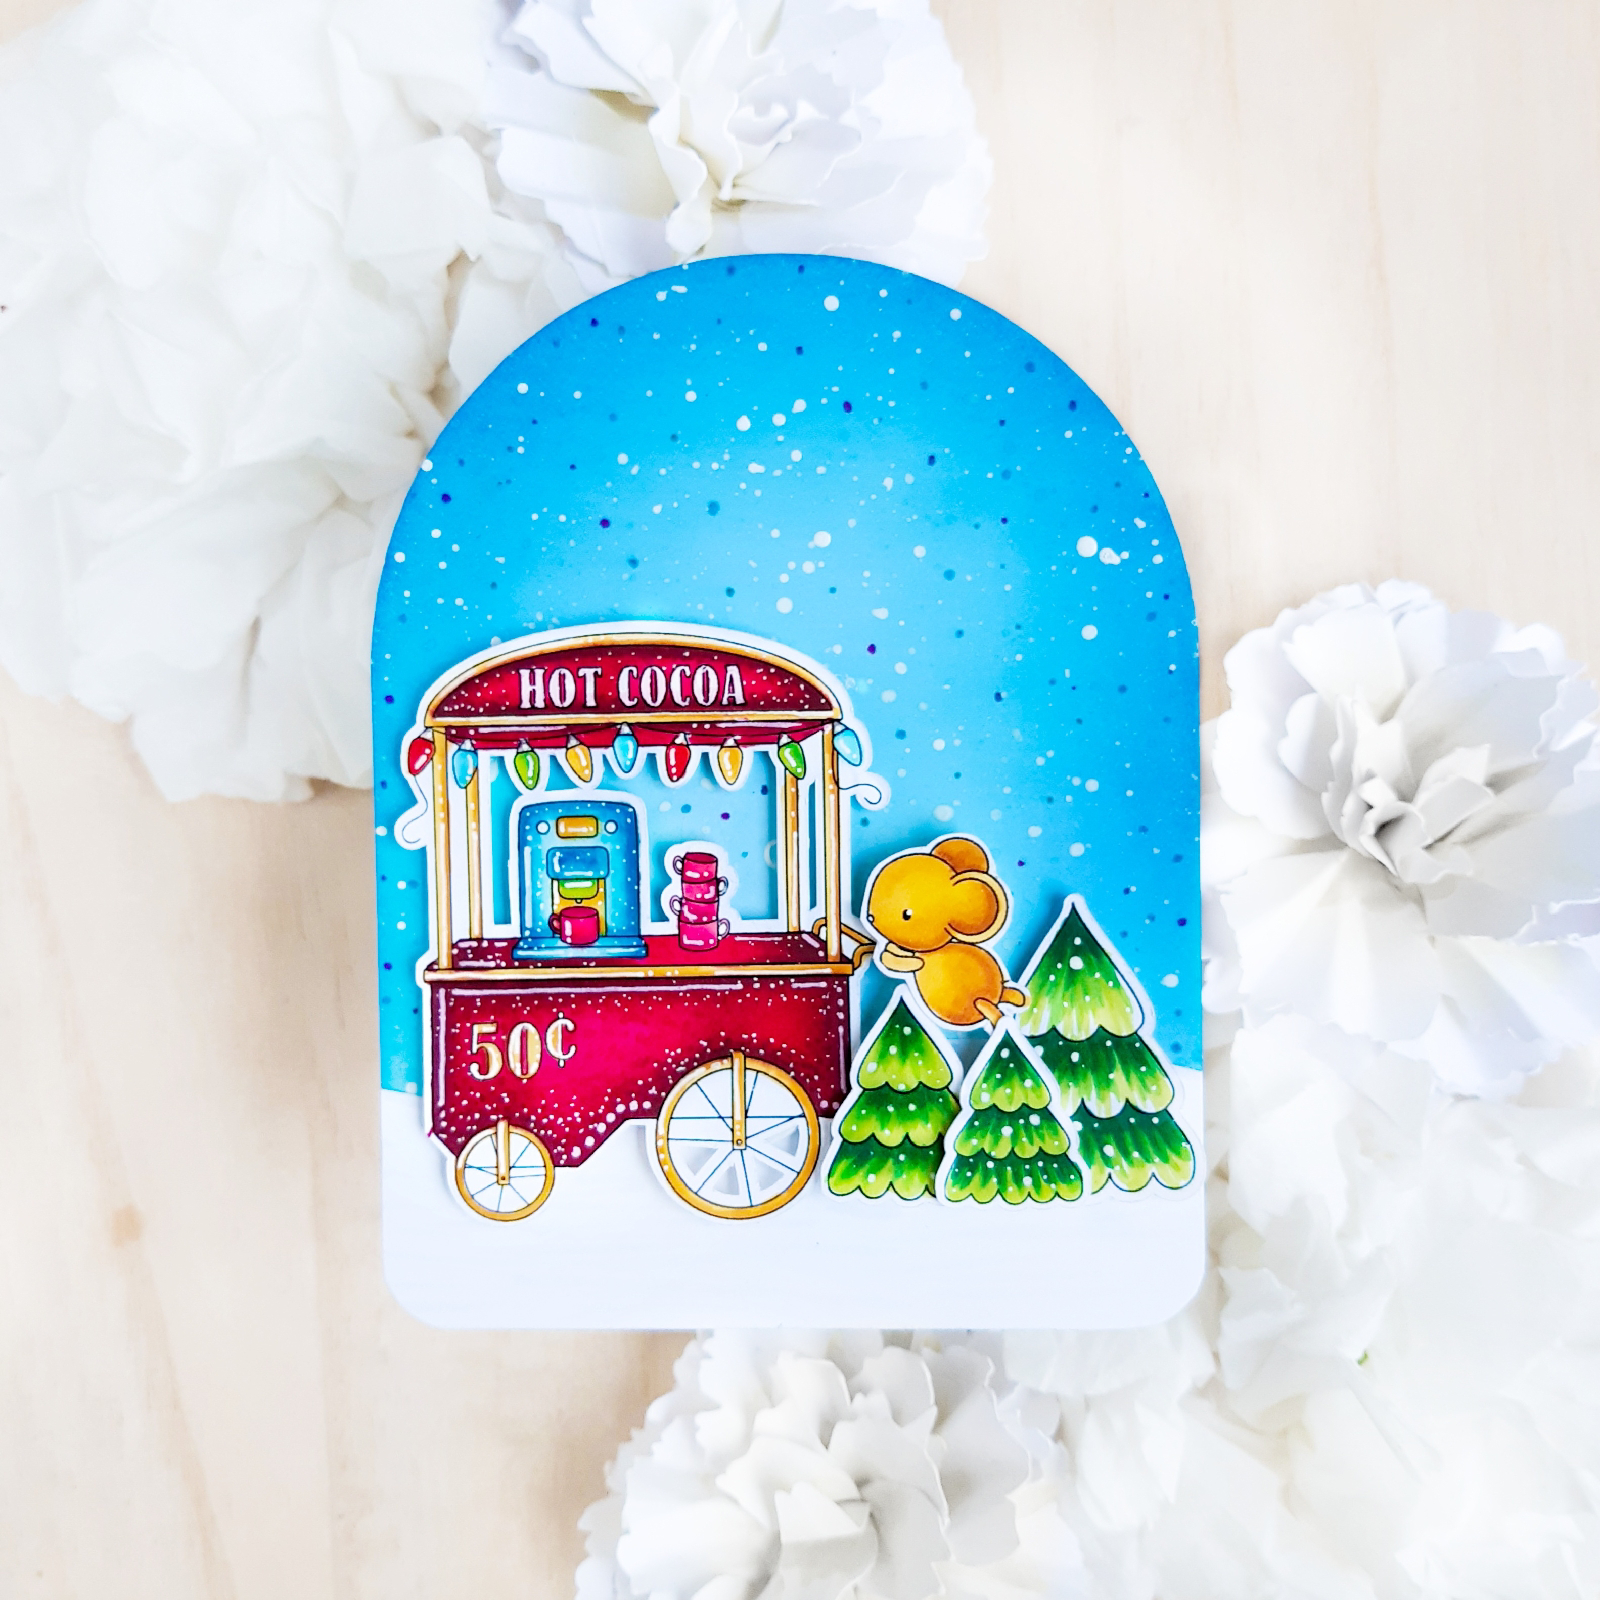
Snowman Scene Christmas Card

Image
I usually prefer bright and vibrant colors for my cards but this time I decided to go for a lighter pallette of colors with just a few bright colors. I started out by coloring my image. I added lots of white details using a white gel pen. I didn't want my background to be completely white, so I used my alcohol markers to add little spots in background. For the snow in the image I used a light grey marker and added streaks. I also added some white paint splatters using acrylic paint. Finally I mounted my card on a light blue card base. Cheers Anisha🤗

Christmas Scene Card with Cricut

Image
Christmas cards are hands down the most fun cards to make! There is just something about making Christmas cards! Love em!! To cut my images I used the Print and Cut feature. To create the white outline around the images I used an offset of 0.055. I also cut the background arch piece with my Cricut Maker 3!  I colored all my images using alcohol markers, added some details using a white gel pen. I used two shades of blue ink and using a blender brush, I ink blended my background. I added white paint splatters using white acrylic paint to add snow to my background. I cut a wavy snowy hill using white cardstock and assembled my card. I used foam tape to add some extra dimension.  That's it for today's card!  Cheers  Anisha🥰 

Christmas Gift Tag Ideas

Image
Christmas is just around the corner and I wanted to share some fun gift tag ideas! I love making gift tags as they are so cute and make a lovely addition to your gift wrapping! For creating the above tags I used my Cricut Maker 3. For this I used the Print and Cut feature and the offset option for the image the penguins and the trees as I love the white border it gives! For my tag shapes I used a number of images from Design Space and the slice option to create my perfect layout. To make it easier for you to recreate the project you can use the link below to access these designs. https://design.cricut.com/landing/project-detail/6148e617bd031c0001c9bfda I loved making these tags, I used wrapping paper as my patterned paper! There are so many beautiful wrapping papers especially for the Christmas season, I find using them as patterned paper on cards is a great way of preserving them! Cheers  Anisha🤗

Through the Galaxy Card

Image
Today I have a really fun galaxy card to share with you featuring the  Paper Boat  Stamp from  Rachelle Anne Miller Stamps . I really wanted to stretch the usage of this stamp by putting the boat in the galaxy! I feel like the fact the little boy is holding the telescope made it perfect for this scene!! I used watercolors to paint my galaxy and acrylic paint for the moon!I used my Cricut Maker to cut my background mat! To make my galaxy really shine, I added sparkle using some super fine glitter!

Color Pencils on Black Cardstock featuring MFTstamps

Image
Hello There🤗.  Today I want to share a fun card that features color pencils on black cardstock. For this card I used the SY-Sweet Shop stamp set. I find it quite fun to color on black cardstock as it just makes the white really pop!  I added some white stitched lines and heat embossed my sentiment.  I hope you like the card! Hugs 🤗 Anisha 

Clean and Simple Card featuring MFT Stamps

Image
Hello There🤗 I hope you are having a lovely day!  Today's card features a fun technique of using small stamps to create backgrounds. I wanted to challenge myself to use images that I usually don't pay much attention to in stamp sets, which is usually the small flowers and other small images that accompany the critters. Whenever I look at a stamp set, my eyes always look at the critters first so I thought it would be fun to use the smaller coordinating elements. I used the SY-Tweet Friends and BB Sweater Weather in the Woods stamp sets for the card. I stamped and colored my images and details using the white gel pen. To further add some interest I added shadows to each of my images. I hope you like the card! Hugs 🤗 Anisha

8 in 1 Interactive Pop Up Card featuring MFT Stamps

Image
Hello There🤗  I hope you are having a lovely day! Today I want to share a fun and interactive 8 in 1 card. The card I made today is a Twist and Pop up Card, but with a little surprise. This card holds a very special place in my heart as I made it for my sister's birthday. I haven't seen her in over a year because of the current situation. As a result I haven't been able to send her any cards. So to make up for all the cards I couldn't send, I thought it would be super fun to send her one card that would be equivalent to 8 different cards, two for each season of the year. My sister has been a constant support throughout my crafting journey, so I really wanted to make her a card with a little "pizzazz". I used 8 different stamp sets to put this card together, mixing and matching different elements to make fun scenes.  I used the following sets SY-Tweet Friends  BB-Polynesian Paradise  BB-Mermaizing  SY-Happy Campers  BB-Sweater Weather in the Woods  BB-Snow Bud

Creating an Underwater Adventure Card

Image
Hello There! I hope you are having a lovely day! I’m so excited to be guest designing for Varada Sharma Designs today! The August release just blew my mind, there are so many wonderful designs to create the perfect underwater scenes! Here’s my card for today.     These are the sets I used  ·        Under the Sea ·        You are Precious ·        Seas the day I started working on my card by printing my card base. To do this I arranged images from different sets to create the reef portion of the background piece and on a separate piece of cardstock I printed all the sea critters . I then colored all the images with color pencils. Then I fussy cut all the critters. For my background I used a stencil to create the effect of the rays and used three different shades of blue Archival ink and a blender brush to put together my background piece. I adhered the elements using foam adhesive and finished of the card with white acrylic paint splatters. 

Circle Card featuring Create A Smile Stamps

Image
Hello There!  I hope you are having a wonderful day! Today's cards features some adorable Create A Smile Stamps! There is a fun challenge going on, and I encourage you to check it out!  For this card, I wanted to include some really fun elements. I chose to do no-line coloring with color pencils for this card. The coloring took me several hours to complete mainly because I had to add several layers of color to the cup and the spilled juice. When I was making this card, I imagined a baby seagull standing at the beach, sipping some refreshing juice on a hot day. For the focal image, I cropped the bird from the Create A Smile digital stamp(Coffee Cup and Bird) and moved it to the left side, so that as I was coloring I could draw a little straw and then it would be a sweet scene of the bird drinking the juice at the beach. I converted the coffee cup into a juice glass and also drew and colored a little spill below the the bottle. Next I drew and colored the stool.  For my s

Coloring fun featuring MFT Stamps

Image
Hello There 🤗 I hope you are having a wonderful day🥰 Today's card features the Tweet Friends stamp set from MFT Stamps. This is such a fun set with lots of lively images perfect for creating fun scenes! To start with, I stamped my images with Versafine Onyx Black Ink and then colored my images with alcohol markers. I then added some white gel pen details to all the stamped and colored images. Next I cut my card base and using a blender brush I blended blue and green inks. To add a bit of texture to the background I handcut a grass stencil and using my blender brush and a darker shade of green ink I added grass foilage to the bottom of the card base. To add some extra interest I added white acrylic paint in the form of splatters. I then adhered all my images to the card base. Finally I added the sentiment to the card using the foam adhesive. I hope you liked the card!🤗 Sending Hugs  Anisha 🥰

Floral Background with Single Stamp Set

Image
Hello There🤗 I hope you are having a lovely day. This card features some gorgeous florals from Mudra Craft Stamps. Made this card at a time when I was completely out of ideas! This is where florals come in handy, you just color and have fun, no scene building required(as much as I love fun scenes)😂 For the card I stamped my flowers and leaves using Versafine Onyx Black Ink. Then using alcohol markers I colored my image starting with the lightest colors first. For the coloring I kept it simple with no blending. I started by coloring each part with the lightest color, then added the next darker color making sure to leave a space so that the lighter color can still be seen. I repeated this process for all my flowers and leaves. To finish of the card I added white paint splatters. That's it for today's card! Cheers  Anisha 🥰

A Mermazing Card- MFTStamps

Image
Hello😊 I hope you are having a lovely day! Today's card features one of my favorite stamp sets - BB Mermaizing from MFT stamps. This stamp set has so many sweet little images! This card is also my first card with an underwater scene😉 To start I stamped, colored and cut all of my images. I then used my white gel pen to add details to all the images. Next I cut a piece of white cardstock and using Blue Archival Ink and a blender brush, I ink blended my background. Using a paint brush and white paint, I added some paint splatters. I then used foam tape and plain double sided tape to adhere all the images to the background. Finally I adhered the main piece to my card base. I hope you love this card as much as I do! Hugs  Anisha 😊

Circle Card featuring MFT Stamps

Image
Hello 🤗 Today's card features a super adorable stamp set from MFT stamps - SY Tea Party. I am absolutely in love with this set, it's got so many lovely and sweet images and I couldn't wait to get crafty! To start with I cut out a circle and ink blended a gradient between blue and green archival inks for the sky and grass respectively. I then cut another circle from white cardstock and then hand cut the grass. Next using alcohol markers I colored the grass. I used three different shades of green for this. I then stamped, colored and fussy cut all my images. To see how I assembled the card watch the video below😉 Have a supercalifragilisticexpialidocious day! Cheers  Anisha😊

Quick and Simple Scene Card

Image
Hi there😊 I hope you are having a wonderful day! I wanted to share this super fun card, with a little bit of a scenery! To start I colored my image using watercolors and color pencils, following which I fussy cut my little critters. I then took a piece of white cardstock and cut a mask to use for the snow. Using some blue Archival ink and blending brushes I blended two shades of blue ink while keeping the snowy mask stuck to my card base. I then added some very faint lines to the snow using watercolors, to create some extra dimension. Next I matted my white piece of cardstock on dark blue cardstock and again on white cardstock. Finally I added stitched lines and white paint splatters to finish the card! I hope you liked it🥰. Have a wonderful day! Cheers  Anisha🤗

Creating your own pet animals out of paper!

Image
Hello There  I hope you are having a good day!😇 Today's project is yet another different project from what I usually undertake, but I enjoy pushing my crafty boundaries once in a while.😂 Here are some of the pictures of the project To start I used newspaper to make my base. I made two balls one larger than the other and used it for the head and body of my little penguin. I stuck the head and body together using masking tape. I then tore some strips of newspaper and using a mixture of glue and water I began adding layers to my body. I added the layers in such a way so that the body looked more fuller and all the gaps and uneven surface could be covered up. I also made the beak in the same manner. Then I let it dry for a day or two. To make it a bit more fun, I used different patterns of decoupage paper to decoupage my little penguin. And that's it !

Upcycling and Redesigning

Image
Hello There 🤗 I hope you are having a great day!! Today's project is different from what I usually undertake, but it's fun to try something different once in a while!😁 Here are some of the pictures of the project To give you a better idea, here is a picture of the insides of the decor piece. So now that you have idea of what this home decor piece looks like, let's get started on how I put it together and what I used. In the true spirit of this Challenge I wanted to use something that really would have gone into the trash can, if it wasn't upcycled. I had a few sheets of cardboard, that came along with the bedsheets that I bought recently. The first step was to cut the all the hexagon pieces, to actually put the box together. I drew a template and cut all the pieces. Next I began the assembly, I used masking tape to stick all the pieces together. This was definitely the most time consuming part because each piece had to a