Posts

Showing posts with the label cricut

Paint Stripe Background Cards

Image
I love using different background shapes for my cards and I have two cards to share with you featuring stamps from Hello Bluebird Stamps and My Favorite Things. For my first card I used the frame piece from the following project on Cricut Design Space! https://design.cricut.com/landing/project-detail/63eb20c2cc2ad471f6de6125 I used a rectangular card base and with a blending brush I blended the following Distress Oxide colors for my ink blended background. Salty Ocean Broken China Tattered Rose  Worn Lipstick  I then stamped my images with Versafine Onyx Black Ink and colored them with alcohol markers. I used the following stamp sets from Hello Bluebird Stamps Feed the Birds  Tree Neighbors  Finally I adhered all the images on my cardbase and then adhered the frame piece. For my second card I used the Happy Campers stamp from My Favorite Things. I stamped my images with Versafine Onyx Black Ink and colored them with alcohol markers. For the ba...

Valentine's Day Card

Image
The new release from RAM stamps is so cute, I couldn't help but use nearly all the images on my card for today! I printed my images on Copic Perfect Coloring Paper, and colored them using alcohol markers. For the background there are 3 main elements - The scalloped border, the cloud background and the inked backdrop. I cut these elements using Cricut Kraft Board which is super thick and lovely to work with. I cut the scalloped border and cloud background using my Cricut Maker. The designs I used are available on Cricut Design Space. For the cloud background I did use the slice option multiple times so I could get more clouds into the design. For the ink blended background, I used the following Distress Oxide Inks- Wild Honey  Spiced Marmalade Carved Pumpkin  Tattered Rose Worn Lipstick  Candied Apple I used blender brushes to blend my inks. I also added white paint splatters as well ink splatters. Finally I adhered all my elements using liquid glue. The critte...

Quick and Easy Thank you cards with Cricut

Image
Today's card features several lovely designs from Design Space which I cut using my Cricut Maker 3. The Cricut Maker 3 is such a versatile machine cause you can use Cricut Smart Materials to cut without a mat and much faster as well! To create today's project I used the Cricut Smart Sticker Cardstock which made it super easy for me to stick the delicate elements without worrying about the glue showing through. I cut the thank you multiple times and stuck one on top of the other to let it pop! I hope you liked today's card! Cheers Anisha 🤗

Creating Slimline Cards with Cricut

Image
I love creating slimline cards and adding little elements to make them pop! You can find these designs on Design Space. For the frames of the card,  I used images that were available on Design Space. Use the link below to directly view the project. https://design.cricut.com/landing/project-detail/62c9ab1cd721635bf15fcd15 Apart from the frames and leaves I also cut the grass frame of the first card using my Cricut Maker 3. I hope these cards inspires you get creating! Cheers Anisha 🤗

Mass Producing Cards with Cricut

Image
Recently I had done an internship at an industry as a part of my university coursework and wanted to make something fairly quick and easy to say thank you. What better way than to make cute little thank you cards with my Cricut Maker 3! To start I first cut all my elements of the card including the frame and leaves using my Cricut Maker 3. The designs I used for this project are given below https://design.cricut.com/landing/project-detail/62c9ab1cd721635bf15fcd15 I custom created the templates using the slice tool and some basic shapes on Cricut Design Space but you can use the above link to recreate the project with the ready to use templates. After cutting the leaves I used alcohol markers to color them. I also colored the animal images with alcohol markers. I ink blended some of my card bases for some variation and color pop! Finally I adhered all my images using foam tape. I hope this project inspires you to get creative! Cheers Anisha🤗

Christmas Scene Card with Cricut

Image
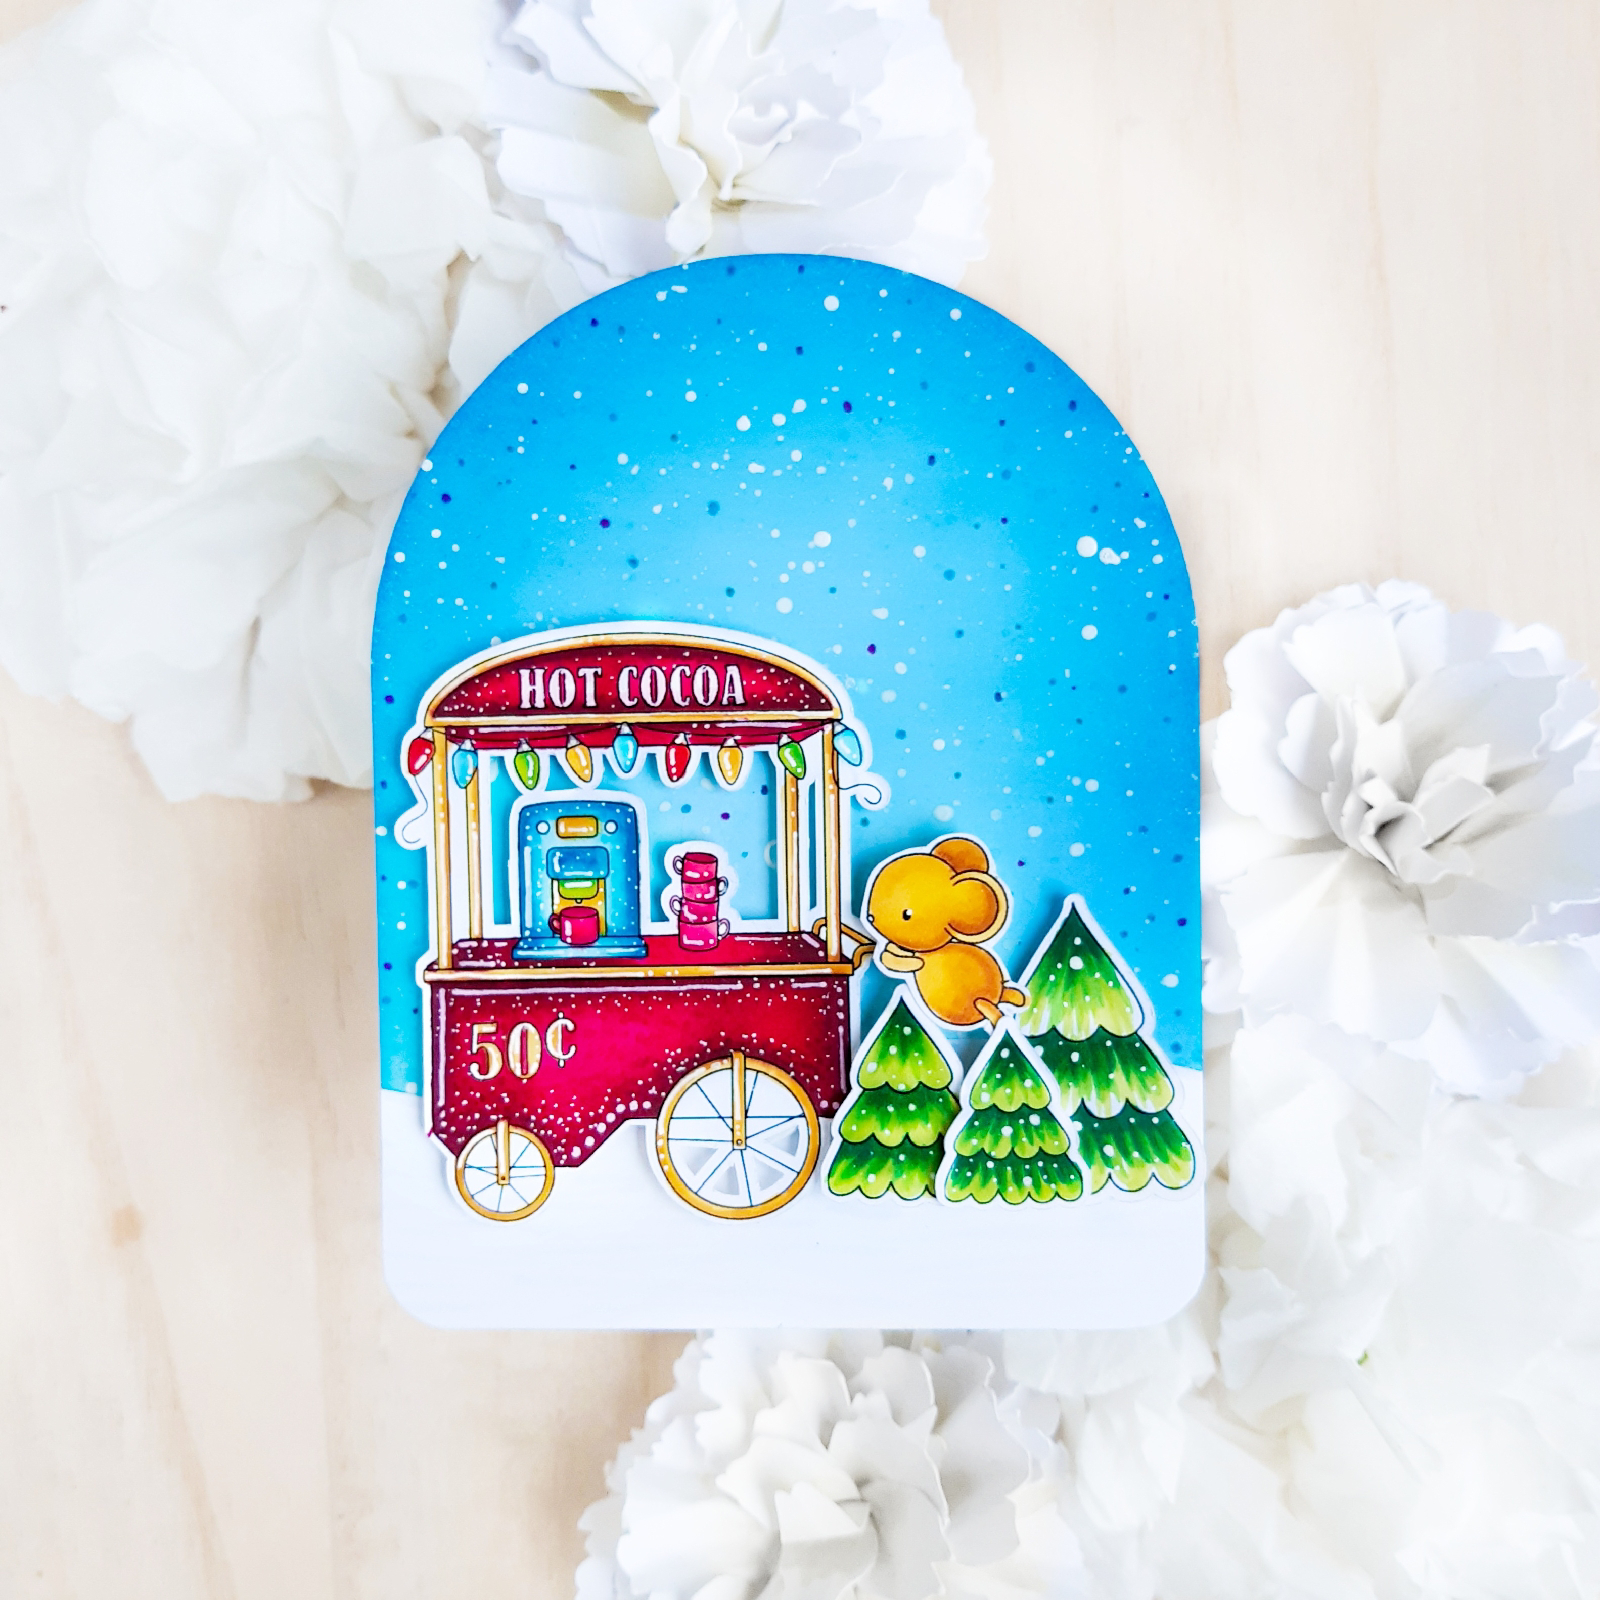
Christmas cards are hands down the most fun cards to make! There is just something about making Christmas cards! Love em!! To cut my images I used the Print and Cut feature. To create the white outline around the images I used an offset of 0.055. I also cut the background arch piece with my Cricut Maker 3!  I colored all my images using alcohol markers, added some details using a white gel pen. I used two shades of blue ink and using a blender brush, I ink blended my background. I added white paint splatters using white acrylic paint to add snow to my background. I cut a wavy snowy hill using white cardstock and assembled my card. I used foam tape to add some extra dimension.  That's it for today's card!  Cheers  Anisha🥰 

Christmas Gift Tag Ideas

Image
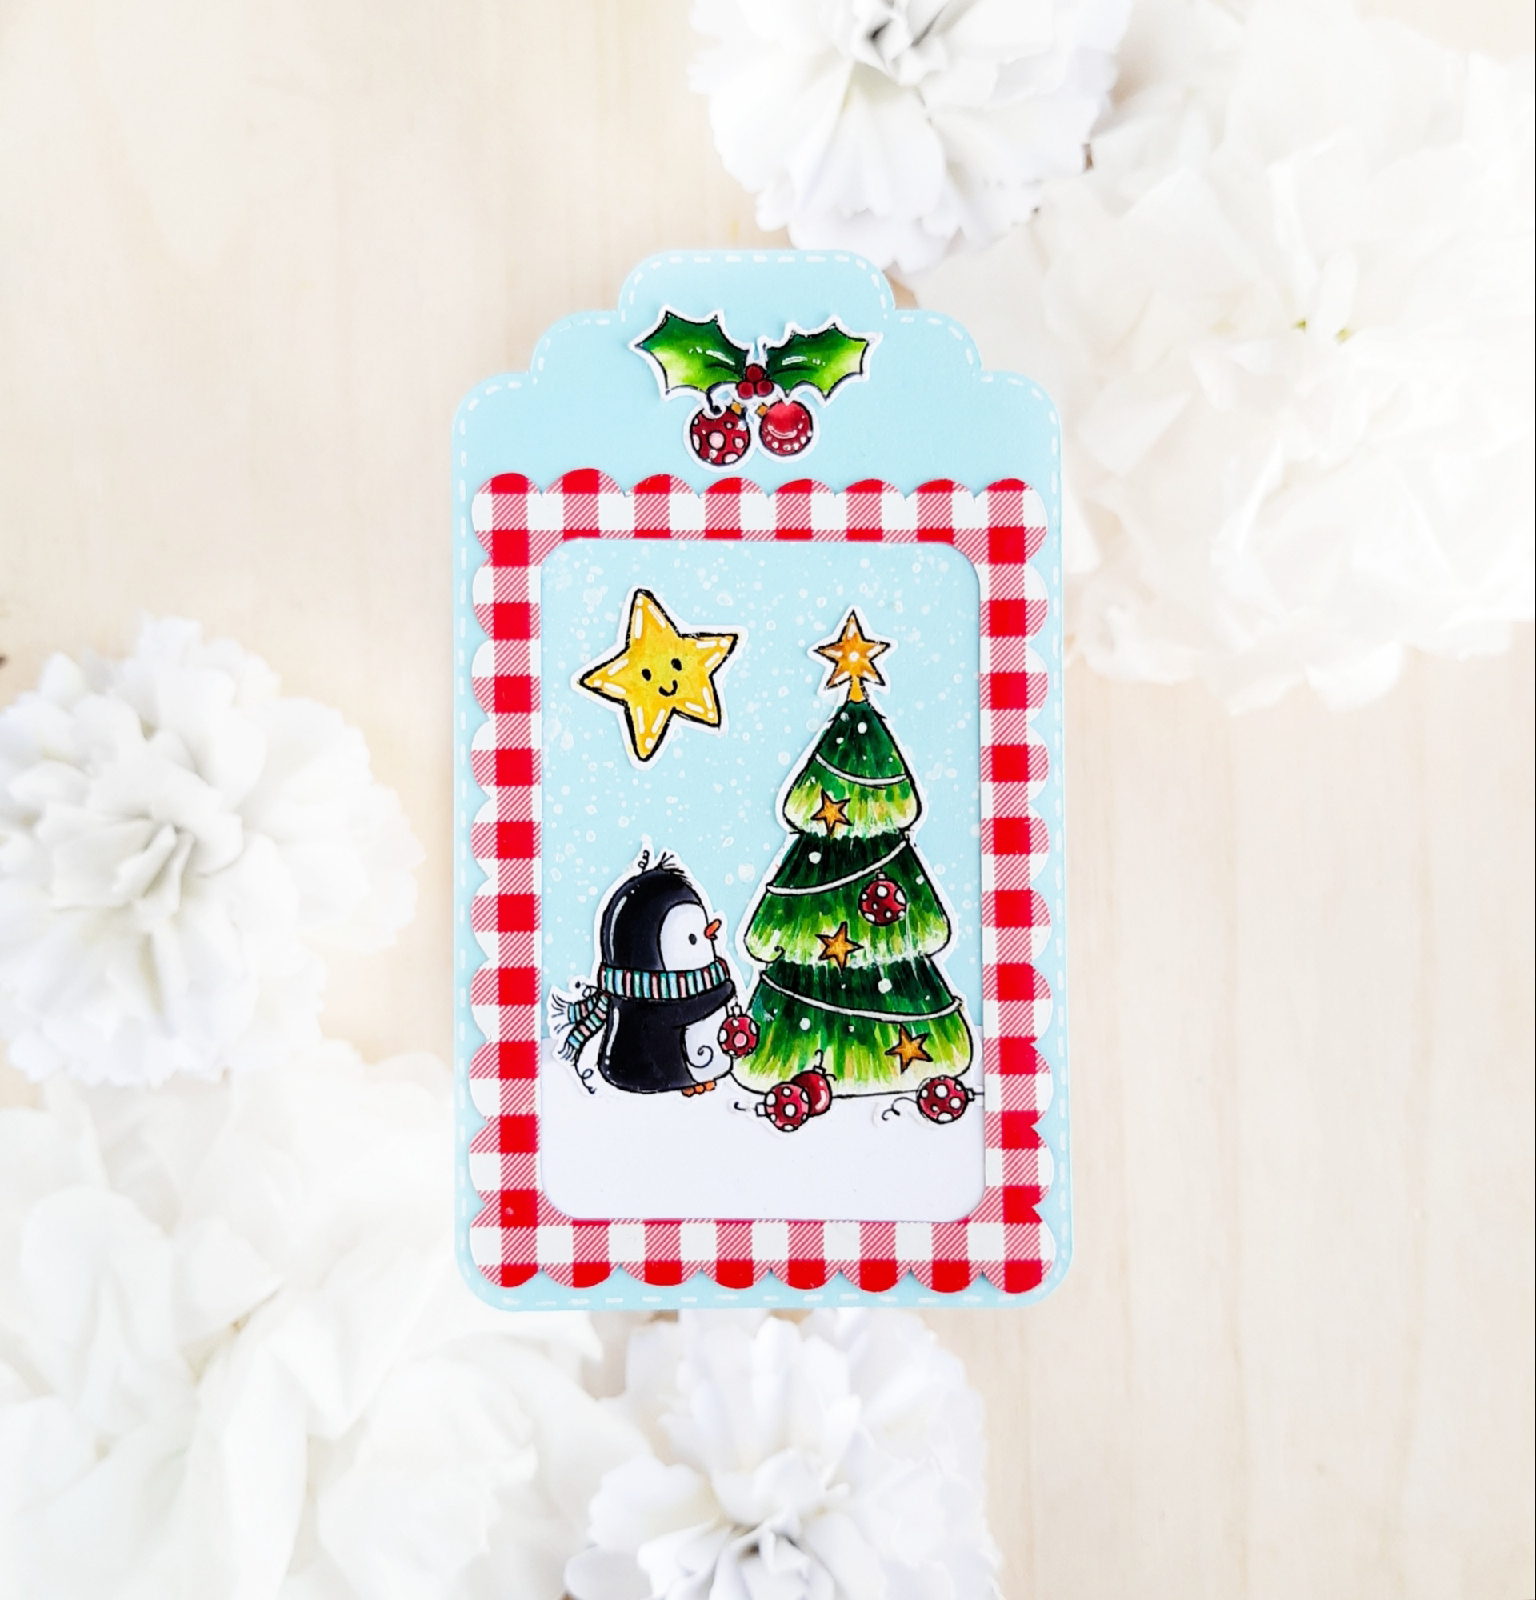
Christmas is just around the corner and I wanted to share some fun gift tag ideas! I love making gift tags as they are so cute and make a lovely addition to your gift wrapping! For creating the above tags I used my Cricut Maker 3. For this I used the Print and Cut feature and the offset option for the image the penguins and the trees as I love the white border it gives! For my tag shapes I used a number of images from Design Space and the slice option to create my perfect layout. To make it easier for you to recreate the project you can use the link below to access these designs. https://design.cricut.com/landing/project-detail/6148e617bd031c0001c9bfda I loved making these tags, I used wrapping paper as my patterned paper! There are so many beautiful wrapping papers especially for the Christmas season, I find using them as patterned paper on cards is a great way of preserving them! Cheers  Anisha🤗