Upcycling and Redesigning
Hello There 🤗
I hope you are having a great day!!


I hope you are having a great day!!
Today's project is different from what I usually undertake, but it's fun to try something different once in a while!😁
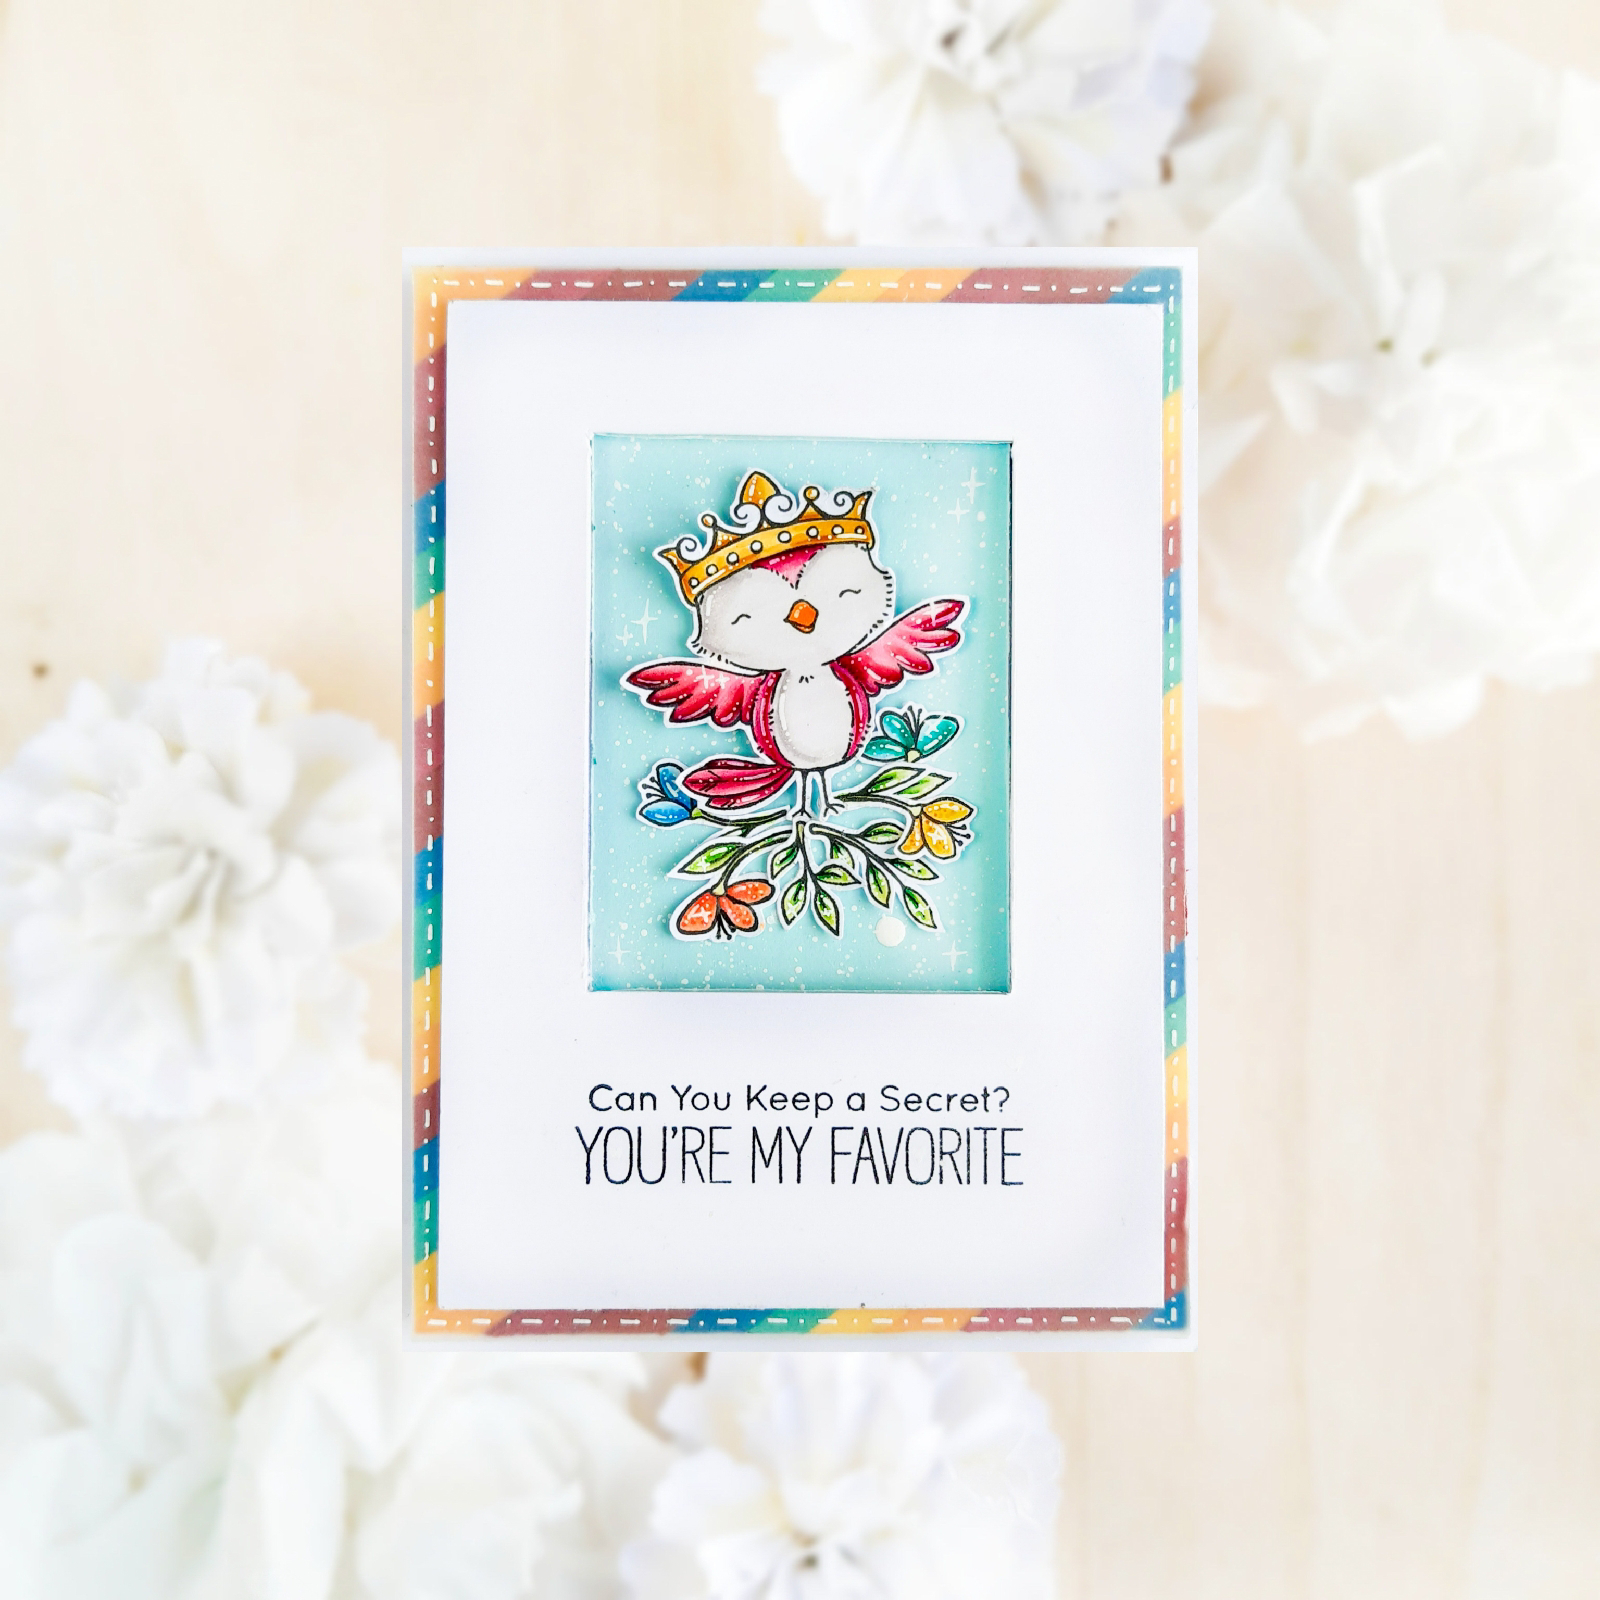
Here are some of the pictures of the project
To give you a better idea, here is a picture of the insides of the decor piece.
So now that you have idea of what this home decor piece looks like, let's get started on how I put it together and what I used. In the true spirit of this Challenge I wanted to use something that really would have gone into the trash can, if it wasn't upcycled. I had a few sheets of cardboard, that came along with the bedsheets that I bought recently. The first step was to cut the all the hexagon pieces, to actually put the box together. I drew a template and cut all the pieces. Next I began the assembly, I used masking tape to stick all the pieces together. This was definitely the most time consuming part because each piece had to assembled perfectly at the correct angle,so that the oveall shape looked perfect. Another important point to keep in mind is to make sure that all the hexagon pieces are the same and each side is the same measurement. I wanted to keep this project super budget friendly cause honestly it didn't make sense to spend a lot to turn trash to treasure😂. The final step was painting are little decor piece. I first added a layer of black acrylic paint and then let it dry, following which I added gold paint using the dry brush technique. To get a better idea of how I did this, watch the video linked below.
And that's it. I had a lot of fun putting this together. I added a artificial flower I had to complete the project.
Have a supercalifragilisticexpialidocious day!
Hugs
Anisha🤗


Comments
Post a Comment